gh repo create
solomon
You've been working on this cool project for some weeks now, then you realized something, what is that??
"I should have version controled this project", oh what do we do now, chill amigo we're still in control
Todays blog post will be about how to convert an ordinary already existing directory to a git repo without having to delete anything or start afresh
Recap
Our last blog was about installing gh which we tried an example by setting up and cloning a repository with it, now let's see another cool feature of this tool which can help us convert an already existing non versioned directory to a github repository.
Getting started
what you need to follow along
- a github account (personal)
- a terminal
- gh installed on your terminal and authenticated with github web
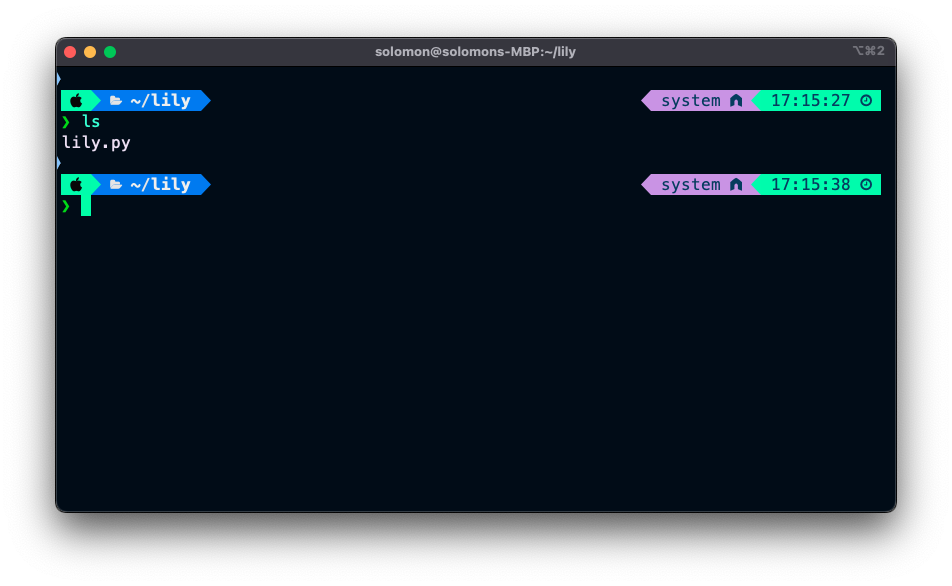
Now let's begin, below is my new folder that we will be converting to a repo
 My folder currently has one file in it which is fine, it could be as many as possible, now let's go ahead and run this command
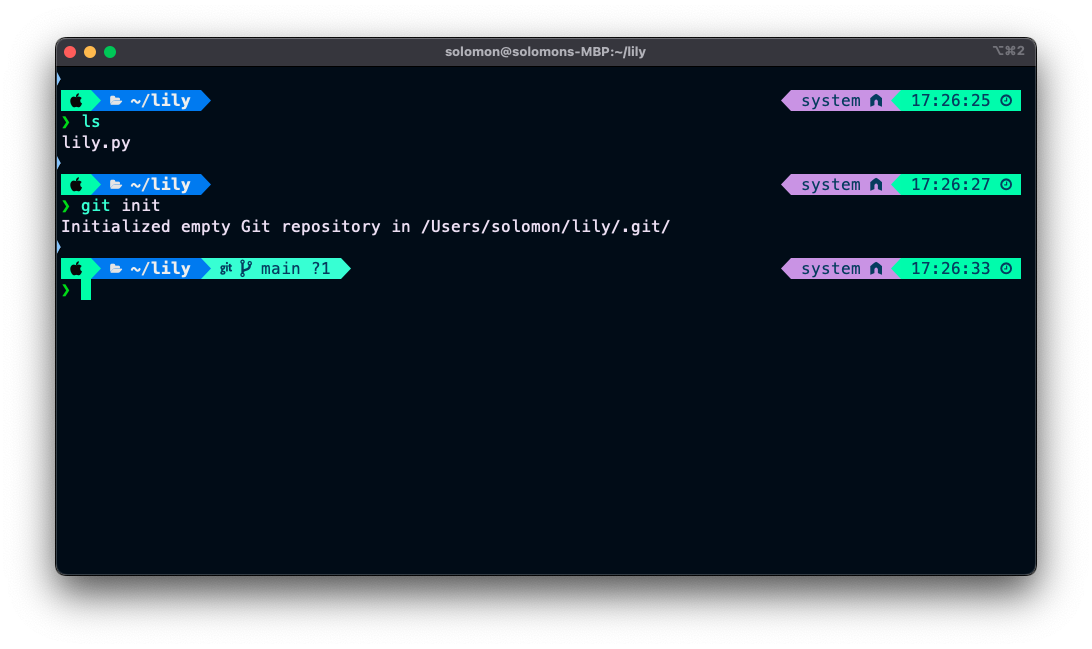
git init # initialize a git repo, a .git directory will be created for usLet's confirm this action by looking at the output
 We can confirm that a git repository has been initialized for us from the output, now let's go ahead and use gh to setup this repo and also create the repository for us on the github web, run this command to do the magic
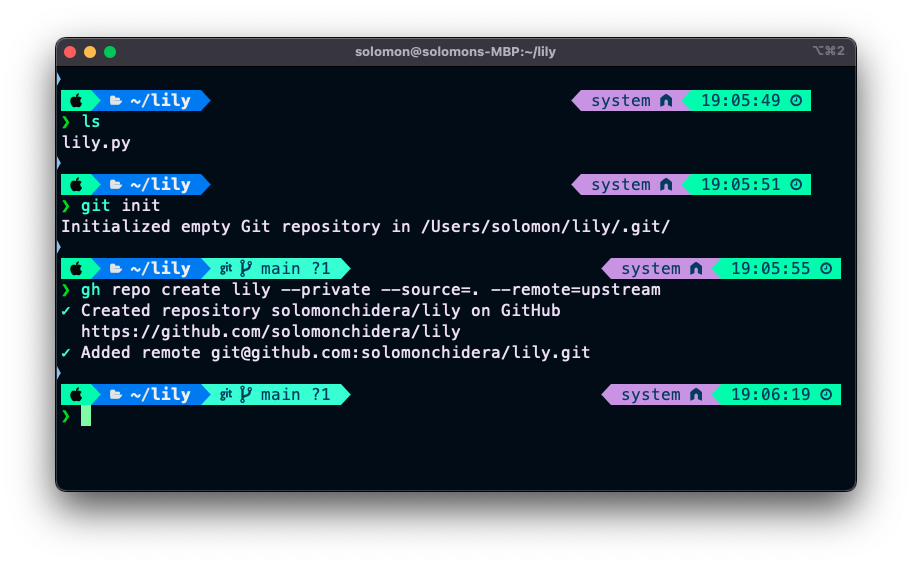
gh repo create lily --private --source=. --remote=upstreamwhere gh ==> is the main tool we are using
repo create ==> is the command we are invoking using gh
lily ==> is the name we intend our repo to bear on github
--private ==> is the mode of creation thus we want this to be a private repo
--source=. ==> indicate that the current directory should be used as the repo location thus the . indicating current directory
--remote=upstream ==> sets the remote name to upstream the default name
when we exceute this command after git init, gh will go ahead and create the repository and when we visit our github web we will see a new github repository
 You should be able to see your new repo now upon visiting github web, you can refer to the documentation to learn more
And that is the end of our blog today, enjoy and stay tune for the next one.✌🏾